Table of Contents
As of when this post goes live, I’m proud to announce all Worthy Go books are updated for 2020 — and all are available in print now as well! See worthygo.com/books for more.
This is one of those stories that’s been a long time in coming, then about a month in the actual making.
Rewind the time machine to mid-2018 — I’ve recently sold One Weird Globe, my former travel blog. In the process of finalizing that sale, I’m ensuring all assets being sold are sent on, passwords changed, checking security on things, and so on.
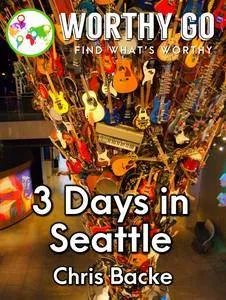
My itineraries and guidebooks were never part of the sale, however, so there was some quick rebranding to do. I swapped the One Weird Globe logo for the now-old Worthy Go logo:


Yeah, nothing fancy happening here… except it needed to happen fairly quickly, so the logo got made in a hurry and changed over. (If I recall correctly, I had an issue uploading covers to Apple, because they required the author’s name on the cover.)
I wanted to do a print version of the itineraries and guidebooks at some point, but part of the reason I was ready to sell the blog was because I was burnt out on travel writing… so doing more travel writing wasn’t about to happen.
If I were to be perfectly honest, even now as 2020 gears up, I’m still not quite in the travel blogging groove. The reasons for that could be the subject of another blog post for another time, but for now, I’d simply say I haven’t found a niche I’m really happy with.
Anyway… back to the books.


It’s now about to become December 2019, we’re in Kyiv, Ukraine, and… I have some time on my hands. It’s cold outside and there isn’t a ton of stuff to see that interests me. I decide to take December to completely update my books and finally create the print books.
All 25+ of them.
In about a month.
On about 12 different platforms.
Here’s how I did it.
The best stack for writing books
(For those unfamiliar with the term ‘stack’, computer programmers use ‘stack’ to identify the combination of technologies, programs, or apps they use in creating things. It’s gained some use outside of computer programming, but I don’t think it’s quite hit the mainstream yet.)
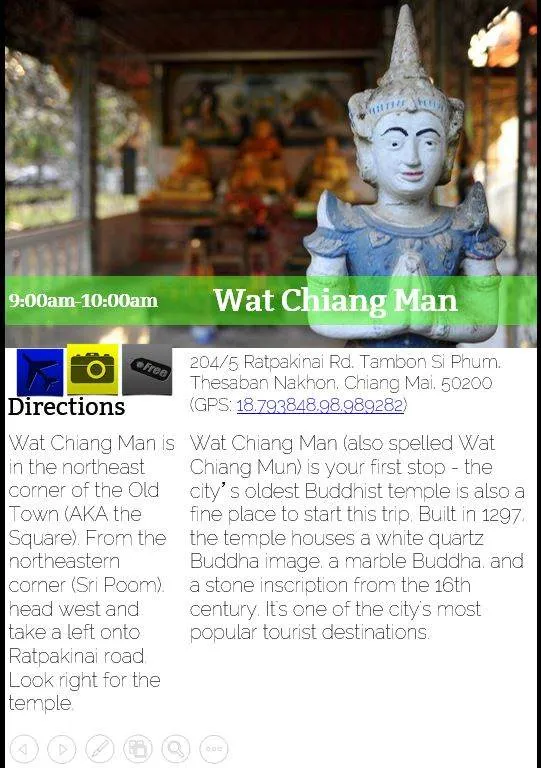
Way back in the day (circa 2013), I assembled books one page at a time in PowerPoint:

At the time, I was following the lead of some of the other itineraries out there — icons, brief descriptions, directions, things like that. I’m kind of cringing now, looking back at this… and it only worked if you were selling PDF’s or other fixed-layout books. Any conversion of this into a reflowable-layout book (the sort of book sold on Amazon that let you increase the font size, change the font, etc.) would tear this to shreds.
So yeah, this type of design didn’t last long.
Today’s stack:
- Google Docs: does almost all of the heavy lifting. This is where I write / edit my guides, then download them as a DOCX and a PDF.
- Google Sheets: great for tracking everything. Each row tracks a different book, while each column tracks different steps in the process.
- Microsoft Word: useful for making the print versions, since Google Docs doesn’t allow you to set a custom page size.
- Microsoft PowerPoint: for making the covers. Yep, I’m an amateur at graphic design, but it works. After all, what is a cover but a set of images and text? There are a number of settings to ensure are correct, but it’s a tool you probably have that’ll work for you.
- https://diybookcovers.com/3Dmockups: An easy, free tool for making 3D versions of your book — and making it look like a print book or an e-book that appears on a tablet. This is just one of many templates they have available:

- Amazon: the 800-pound gorilla of e-books, and pretty big in the paperbook world as well. You can probably skip it if you’re only looking to sell info products using your own checkout system at some trendy price point like $17 or $27. Since that’s not my style, Amazon is and should be considered a must for anyone selling e-books these days.
- Gumroad: my choice for selling the PDF versions of a book. You can sell just about anything of a digital nature on there, so consider it if you do audio stuff, basic memberships, or things like that. Better still, there’s no manual review process, so it’s very fast to set up.
- Draft2Digital: an aggregator, and honestly the best one I’ve come across. By this point, I’ve covered two of the biggest markets for me (Amazon is usually #1, PDF’s are usually #2). From here, I want to cast as wide a net as possible, as easily as possible. I don’t want to have to send a book through Barnes and Noble’s system, then through Apple’s system, then through Scribd’s system… You get the idea. An aggregator collects all the info, then sends it onto a lot of different platforms. You write it all out once, hit submit, and they send it on automagically.
So what’s the plan?
The plan was simple enough:
- Update / edit each book
- Create the paperback version
- Double-check everything for completion and correctness
- Upload to Amazon, Gumroad, and Draft2Digital
- Check everything is uploaded and displaying correctly
- Publicizing / marketing
The old joke about eating an elephant comes to mind, but the old answer remains valid: one bite at a time. Personally, I call them passes — one complete run through the book, each time with a specific thing in mind:
- Fact-checking.
- Formatting.
- Making sure things flow well from one sentence to the next.
- Making sure directions work — the itineraries all have step-by-step directions to take you from one place to the next.
The big secret: templating

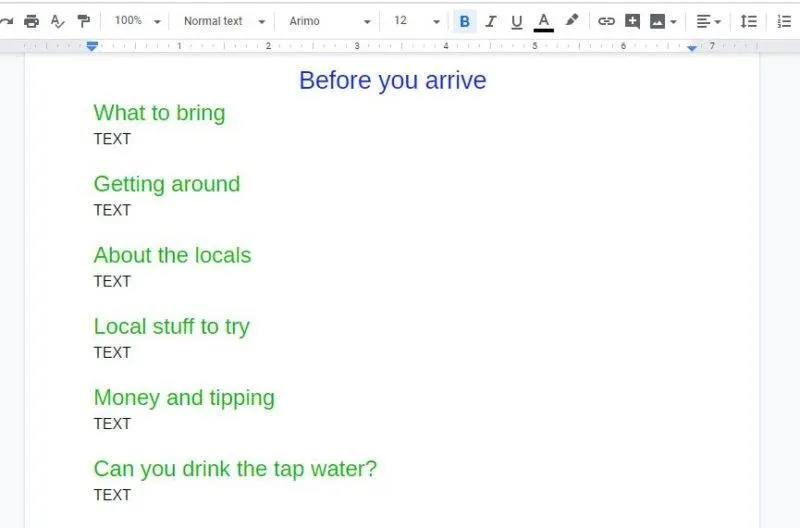
Of the 26 books I currently have for sale, 20 of them are itineraries. Each book starts life as a template — a skeleton of sorts with the formatting, structure, and common stuff like disclaimers already created. There’s still plenty to do to create each book, of course, but this template provides a great place to start. If you’re going to write more than one book, or if you want some consistency between your books, templates are the way to go.
A style guide is another aspect to consider — this can be as fancy as Lonely Planet’s style guide or just a page of rules you’ve created for yourself. If you’re familiar with something like AP style and want to follow that, apstylebook.com is the official site for the AP style, and has plenty of ways to incorporate that style.
Making print books
I’ve done e-books for all of my books for a long time now… and to be honest, making print books had never been high on the priority list until recently. I perceived them as taking forever to make. I didn’t want to spend a ton of time looking for original-sized photos to add to the print book versions. I also didn’t know how well they’d sell —and the last thing you want is to make something that no one will buy.
Three things turned that around:
- I returned to my old friend, templating — creating a Microsoft Word template with the correct formatting, then assembling the book from there would take a lot less time than it has in the past.
- I realized that photos wouldn’t be a problem — the photos I already had would work out just fine. With print, you need 300 DPI (dots per inch); most of the time on screen, you’re looking at 72 DPI. If a photo is 1000 pixels wide, it’ll take up about 13.88 inches on a screen and 3.33 inches on a page. That’s right at the size they display at in a 5″ x 8″ paperback (you need margins from the outside edge and a larger margin on the inside to account for the spine). If you’re looking to create some larger-page paperbacks (like an A4-sized book, or a textbook), you’ll definitely want more pixels to throw at it.
- I read an article talking about how Millennials buy more print books than e-books — in fact, the e-book industry as a whole never really supplanted paper books thanks to the business tactics of a few companies in the early 2010’s.
Amazon is my choice there — their print-on-demand program that was once called Createspace is the easiest way to get started. After creating your e-book, a button encourages you to start a paperback, which automatically populates the paperback version with lots of details from the e-book version. This part here is the tip of the iceberg, since all of the page layout and ensuring the content is ready to go is done beforehand. Assuming you have all the files ready and don’t come across any errors, this process should take about 20-30 minutes per book. Making the files takes some time, of course.
Go have an awesome trip
There are four things I’ve avoided putting in my books: no affiliate links, no ads, no fluff, and no BS.
At the risk of sounding like a sales pitch, the itineraries are all set up to help you see the best places a city has to offer. The directions are as specific as they can get — get on this bus, walk this many meters, turn this way, look for this landmark — and all places have addresses and GPS coordinates to use on your phone if you prefer. I’m really proud of the routing of the itineraries, which is part of how you’ll get to really see more of a city / area in a short amount of time.
The guidebooks (the ones like What the Florida?, Offbeat Thailand, and Offbeat Korea) are carefully curated and organized to avoid that ‘no fluff’ part. The last thing you need when trying to find a place is 500 florid words about how the leaves flutter about in the springtime or whatever. They all have location and theme indexes to make finding the exact place even easier, whether you’re still planning your trip or are already on the road.


